
ball fruit-fresh instructions
Fruit balling transforms ordinary fruit into visually appealing bites, enhancing presentations and enjoyment. Mastering techniques ensures optimal freshness, vital for flavor and aesthetics.
What is Fruit Balling?
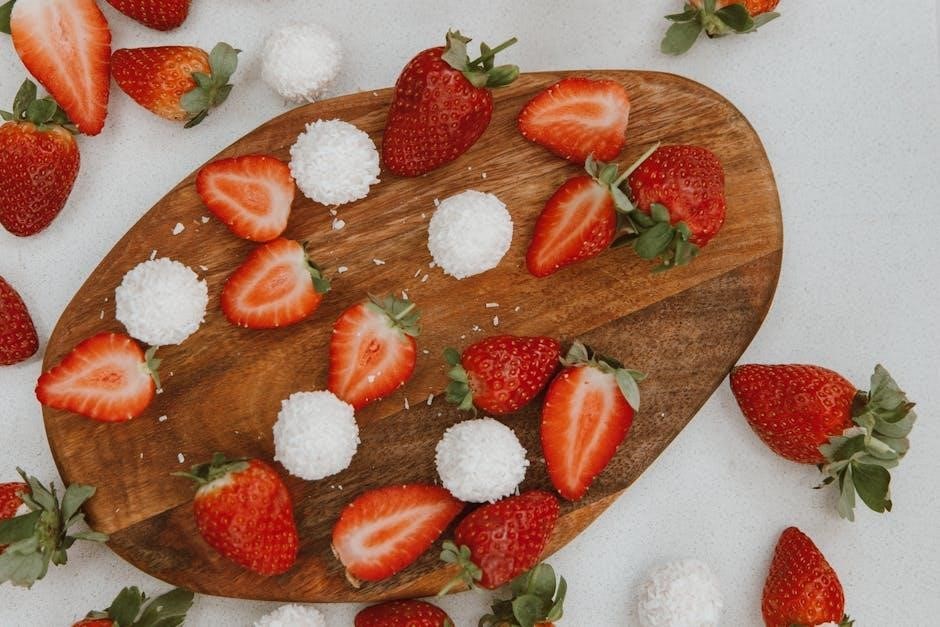
Fruit balling is a decorative culinary technique involving shaping fruit into perfect spheres. This art form elevates simple fruit salads, desserts, and platters, transforming them into visually stunning creations. Utilizing specialized tools, primarily melon ballers, allows for the effortless creation of these delightful spheres from various fruits.
Beyond aesthetics, fruit balling offers a unique textural experience, making fruit more enjoyable to eat. It’s a technique employed in professional kitchens and increasingly popular for home entertaining. The process involves removing the fruit flesh in small, rounded portions, resulting in uniform balls that are both appealing and easy to handle. It’s a simple yet effective way to showcase the natural beauty of fruit.
The Appeal of Fruit Balls: Aesthetics and Enjoyment
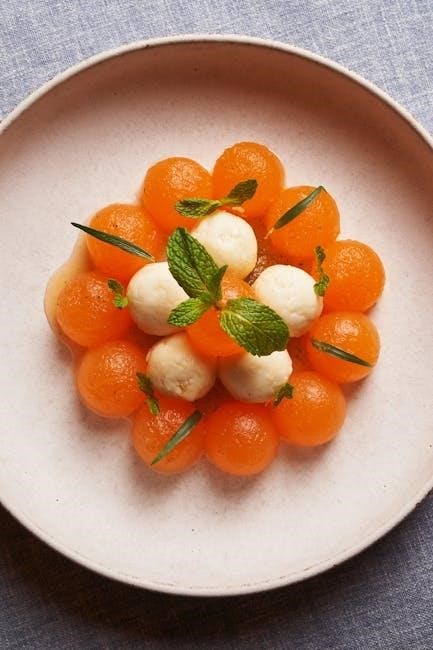
Fruit balls possess an undeniable visual charm, instantly elevating any dish. Their uniform shape and vibrant colors create an appealing aesthetic, transforming ordinary fruit presentations into artistic displays. This technique is particularly effective for buffets, parties, and special occasions where presentation matters.
Beyond visual appeal, fruit balls enhance the eating experience. The bite-sized portions are easy to handle and offer a delightful textural contrast. They’re especially popular with children and those seeking a fun, interactive way to enjoy fruit. The playful form encourages consumption and adds a touch of whimsy to any meal, making healthy eating more enjoyable.
Maintaining Freshness: A Core Principle
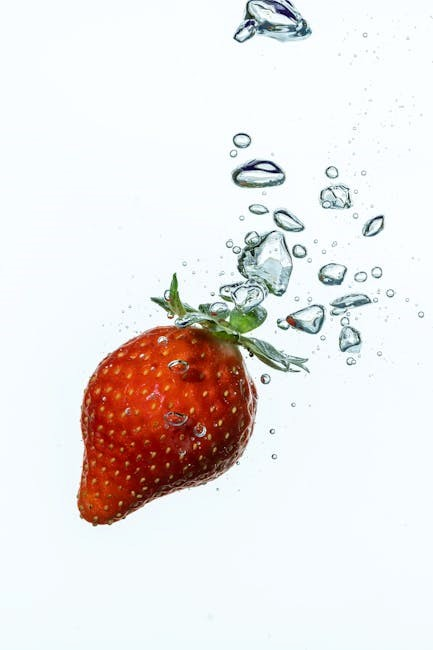
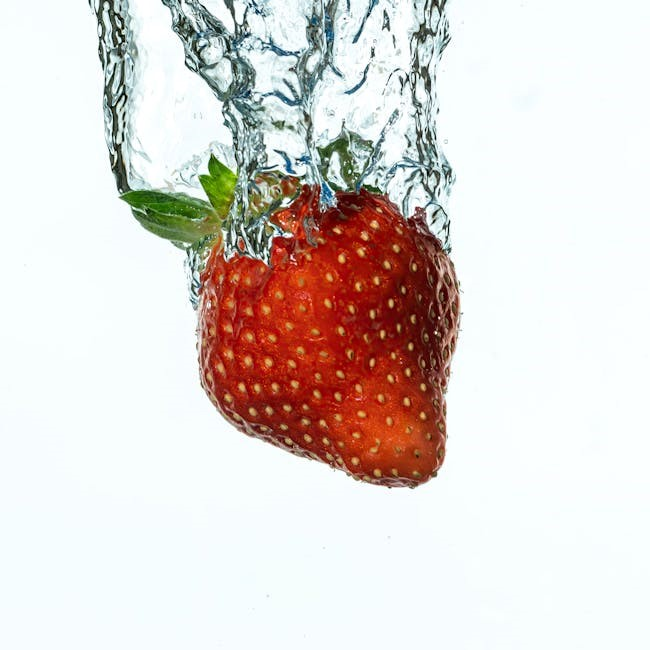
Freshness is paramount when working with balled fruit. Once cut, fruit begins to oxidize, leading to browning and a decline in flavor. Therefore, prompt preparation and proper storage are crucial. Minimizing the time between balling and serving significantly impacts the final quality.
Employing techniques to prevent oxidation, such as a light coating of citrus juice, helps preserve the vibrant color and taste. Refrigeration immediately after preparation slows down enzymatic activity, extending shelf life. Selecting ripe, but not overripe, fruit initially contributes to longer-lasting freshness. Prioritizing these steps ensures a visually appealing and delicious experience.
Tools for Fruit Balling
Melon ballers, peel zesters, and specialized fruit carving knives are essential. Scoops and bowls aid presentation, transforming fruit into edible art.
Melon Ballers: Types and Selection
Melon ballers come in various materials and sizes, impacting ease of use and the resulting fruit sphere dimensions. Stainless steel ballers are durable, rust-resistant, and maintain sharpness, making them a popular choice for frequent use. Plastic ballers are more affordable but may dull quicker.
Consider the size of the ball you desire; smaller ballers are ideal for delicate fruit like cantaloupe, while larger ones suit watermelons. Some ballers feature ergonomic handles for comfortable gripping, reducing hand fatigue during extended carving sessions. Dual-purpose tools combine a baller with a fruit scooper or zester, offering versatility. When selecting, prioritize quality construction and a comfortable grip to ensure efficient and enjoyable fruit preparation.
Peel Zesters & Groovers: Enhancing Presentation
Peel zesters and groovers elevate fruit displays beyond simple balling, adding intricate details and visual appeal. Zesters create thin strips of peel, perfect for garnishing or forming decorative patterns. Groovers etch lines into the rind, offering texture and a sophisticated touch. These tools are particularly effective on citrus fruits and melons.
Using these tools requires a gentle touch to avoid damaging the edible fruit beneath the peel. Experiment with different grooving patterns – parallel lines, cross-hatching, or floral designs – to personalize your creations. Combining zested strips and grooved surfaces with balled fruit creates stunning, multi-textured presentations, transforming ordinary fruit platters into edible works of art.
Fruit Carving Knives: Precision Cutting
Fruit carving knives are essential for detailed work beyond basic balling, enabling intricate designs and shapes. These knives come in various sizes and blade styles – paring knives for smaller details, and larger blades for removing rinds or creating larger cuts. Precision is key; sharp blades ensure clean cuts and minimize bruising to the fruit.
Mastering knife skills allows for creating flowers, leaves, or geometric patterns directly on the fruit surface. When carving, always cut away from yourself and use a stable cutting surface. Practice simple shapes first, gradually increasing complexity. Combining carved elements with balled fruit elevates presentations, showcasing artistry and skill, and ensuring a visually stunning and delicious experience.
Other Useful Tools: Scoops & Bowls
Beyond specialized fruit ballers and knives, several tools enhance the process and presentation. Scoops, in varying sizes, are invaluable for removing fruit flesh to create edible bowls – think mini watermelon bowls or papaya boats. These bowls then become vessels for fruit salads or balled fruit mixtures.
A selection of bowls is crucial for both preparation and serving. Stainless steel bowls are ideal for washing and holding balled fruit, while decorative glass or ceramic bowls elevate the final presentation. Consider using bowls that complement the fruit colors for visual appeal. Having appropriate containers also aids in maintaining freshness during preparation and storage, preventing bruising and oxidation.
Fruits Suitable for Balling
Melons, stone fruits, and tropical fruits with firm textures yield excellent fruit balls. Apples and pears also work well, offering diverse flavors and colors.
Melons: Watermelon, Cantaloupe, Honeydew
Melons are exceptionally well-suited for balling due to their high water content and relatively firm flesh. Watermelon, with its vibrant color, creates stunning visual appeal when formed into balls, perfect for summer displays. Cantaloupe and honeydew offer a softer texture, requiring a gentle touch with the melon baller to avoid crushing.
When selecting melons for balling, choose those that are heavy for their size, indicating ripeness and juiciness. Ensure the flesh is firm but yields slightly to pressure. A ripe melon will yield beautifully shaped balls, enhancing both presentation and flavor. Remember to chill melons before balling for easier handling and a refreshing treat!
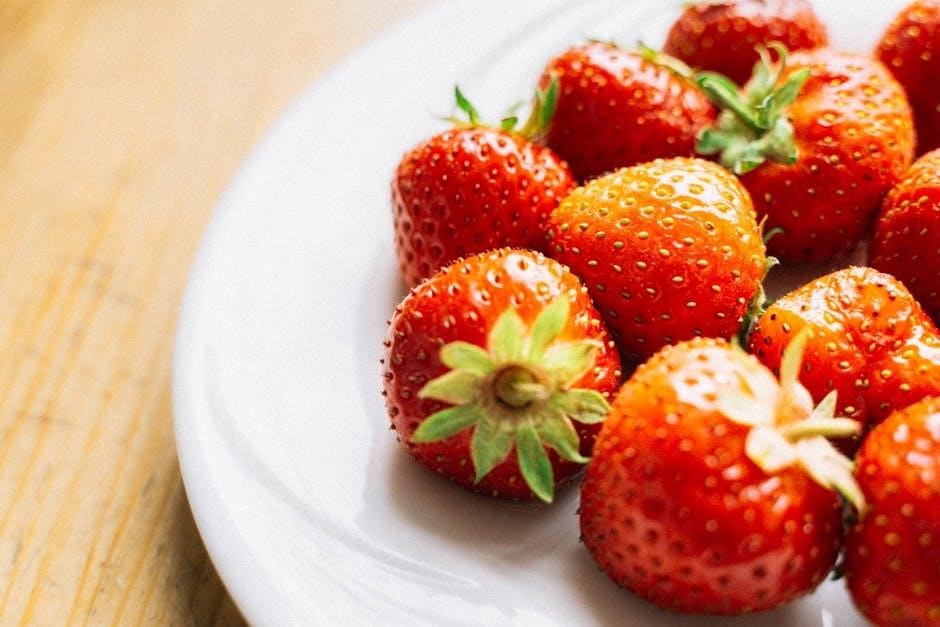
Stone Fruits: Peaches, Plums, Nectarines
Stone fruits like peaches, plums, and nectarines present a delightful challenge for fruit balling, offering a balance of firmness and sweetness. These fruits require careful selection; they should be ripe but not overly soft to maintain their shape during the balling process. Slightly firm flesh ensures clean, defined spheres.
Prior to balling, gently remove the skin – a paring knife or blanching in hot water can assist. Be mindful of the pit! The resulting fruit balls are ideal for elegant fruit salads or as a sophisticated garnish. A light coating of citrus juice will prevent browning and preserve their vibrant color, enhancing visual appeal and freshness.
Tropical Fruits: Papaya, Mango
Tropical fruits such as papaya and mango introduce vibrant colors and exotic flavors to fruit balling. Their softer texture necessitates a gentle touch and a sharp melon baller to prevent crushing. Select fruits that are ripe but still hold their shape – slightly underripe is preferable to overripe.
Carefully peel and remove the seed before balling. Mangoes, with their fibrous nature, may require a bit more effort. Papaya’s smooth texture yields beautifully round balls. To maintain freshness and prevent discoloration, immediately toss the balls with a squeeze of lime or lemon juice. These tropical spheres elevate fruit salads and desserts with their unique taste and visual appeal.
Firm Fruits: Apples, Pears
Apples and pears, with their satisfying crispness, are excellent choices for fruit balling, particularly for beginners. Their firm texture holds its shape remarkably well during the process. Selecting varieties like Honeycrisp or Bosc ensures optimal results, offering both firmness and flavor. Core the fruit before peeling, and ensure your melon baller is exceptionally sharp for clean, effortless balls.
To prevent browning, a quick dip in a solution of water and lemon juice is crucial immediately after balling. This preserves their appealing color and freshness. These firm fruit balls add a delightful crunch to salads, pair beautifully with cheeses, or serve as a refreshing standalone snack.
Step-by-Step Fruit Balling Instructions
Fruit balling involves careful preparation, precise technique with a melon baller, and creative carving for stunning designs – a simple process for beautiful results!
Preparing the Fruit: Washing and Peeling
Initial preparation is crucial for successful fruit balling and maintaining hygiene. Begin by thoroughly washing all fruits under cool, running water to remove any dirt, pesticides, or residues. Gentle scrubbing with a soft brush can aid this process, especially for fruits with textured skins.
Next, carefully peel the fruit, removing the rind or skin entirely. A sharp paring knife works well for this, ensuring minimal fruit waste. For melons, a sturdy knife is needed to cut away the outer layer.
Ensure all traces of the peel are removed, as it can affect the texture and appearance of the final fruit balls. Proper washing and peeling set the stage for clean, flavorful, and visually appealing creations.
Using a Melon Baller: Technique and Tips
Mastering the melon baller requires a gentle yet firm hand. Apply consistent pressure while rotating the tool within the fruit flesh; avoid forcing it, as this can cause uneven balls. Begin with a slight angle, then rotate in a circular motion.
For optimal results, ensure the fruit is firm but not rock-hard. Slightly chilled fruit often balls more easily. Experiment with different sized melon ballers to achieve varied presentations.
To minimize waste, work around the core or pit, extracting as much usable fruit as possible. Clean the baller after each use to prevent sticking and maintain a smooth balling action.
Creating Grooves and Designs with Peel Zesters
Peel zesters elevate fruit presentations beyond simple balling, adding intricate details. Use a zester to create elegant grooves or decorative patterns on the fruit’s surface before balling for a stunning effect. Lightly score the peel, avoiding deep cuts that compromise the fruit’s structure.
Experiment with different zesting techniques – parallel lines, cross-hatching, or floral motifs. These designs enhance visual appeal and provide textural contrast. Remember to apply gentle pressure for clean, defined lines.
Zesting also releases aromatic oils, intensifying the fruit’s fragrance and flavor, contributing to a more sensory experience.
Advanced Carving Techniques: Simple Shapes
Beyond basic balling, simple carving expands creative possibilities. Start with easy shapes like hearts or stars, using a small, sharp paring knife for precision. Carefully remove sections of peel to reveal contrasting flesh colors, creating visual interest.
Practice making small cuts and gradually building up the desired form. Watermelon, with its firm texture and vibrant color, is ideal for beginners. Remember safety – always cut away from yourself!
These carved shapes can be incorporated into fruit salads, used as garnishes, or arranged artistically in fruit bowls, elevating presentations from simple to spectacular.

Maintaining Freshness After Balling
Balled fruit benefits from immediate refrigeration and citrus juice application to prevent browning and maintain vibrant color and optimal freshness.
Preventing Browning: Citrus Juice Application
Fruit, once cut, rapidly undergoes enzymatic browning, diminishing its visual appeal and potentially affecting flavor. A simple yet effective solution is applying citrus juice – lemon, lime, or orange – immediately after balling. The ascorbic acid (Vitamin C) present in these juices acts as an antioxidant, inhibiting the enzyme responsible for oxidation.
Gently toss the fruit balls with a small amount of juice, ensuring even coating. Avoid excessive application, as it can alter the fruit’s natural taste. This technique is particularly crucial for apples, pears, and peaches, which are prone to browning. A light coating preserves the vibrant colors and extends the freshness, making your creations more appetizing for longer periods.
Storage Solutions: Refrigeration and Containers
Proper storage is paramount to maintaining the quality of balled fruit. Refrigeration significantly slows down enzymatic activity and microbial growth, preserving freshness. Store fruit balls in airtight containers to minimize exposure to air, a key contributor to browning and dehydration.
Glass or plastic containers with tight-fitting lids are ideal. Avoid containers that allow air circulation. For optimal results, layer the fruit balls with a slightly damp paper towel to maintain humidity. Do not overcrowd the container, as this can cause bruising. Refrigerate immediately after preparing and coating with citrus juice for extended shelf life and vibrant presentation.
Optimal Storage Duration for Different Fruits
Storage duration for balled fruit varies based on its type and initial freshness. Melons, like watermelon and cantaloupe, are best consumed within 2-3 days when refrigerated in airtight containers. Stone fruits, such as peaches and plums, maintain quality for up to 2 days.
Tropical fruits like papaya and mango are more susceptible to spoilage; enjoy them within 1-2 days. Firmer fruits, including apples and pears, can last 3-5 days if properly stored. Regularly inspect fruit balls for any signs of mold, discoloration, or off-odors. Prompt consumption ensures the best flavor and texture, maximizing enjoyment.
Freezing Fruit Balls: Considerations and Methods
While freezing alters texture, it’s a viable option for longer-term storage of fruit balls. Best results are achieved with firmer fruits like apples and pears, as softer fruits become mushy upon thawing. Before freezing, flash-freeze the fruit balls individually on a baking sheet to prevent clumping.
Once frozen solid, transfer them to airtight containers or freezer bags, removing as much air as possible. Frozen fruit balls are ideal for smoothies or as a chilled treat, but their texture won’t be suitable for all applications. Expect a shorter optimal storage duration – around 2-3 months – for best quality.
Creative Presentation Ideas
Fruit ball skewers, vibrant salads, artistic bowls, and elegant dessert garnishes showcase the beauty and versatility of perfectly balled, fresh fruit.
Fruit Ball Skewers: Colorful Combinations
Fruit ball skewers are a delightful and easy way to present a variety of fresh fruits. Begin by selecting a range of colors and textures – think vibrant watermelon, sweet cantaloupe, juicy peaches, and firm apples. Thread the fruit balls onto skewers, alternating colors for visual appeal. Consider adding small leaves of mint or basil between the fruit for an extra touch of freshness and aroma.
For a more sophisticated presentation, drizzle the skewers with a light honey-lime glaze or a sprinkle of toasted coconut flakes. Arranging the skewers on a platter in a fan shape or creating a rainbow effect adds to the artistry. These skewers are perfect for parties, snacks, or a healthy dessert option, showcasing the beauty of fruit carving.
Fruit Salads with Balled Fruit
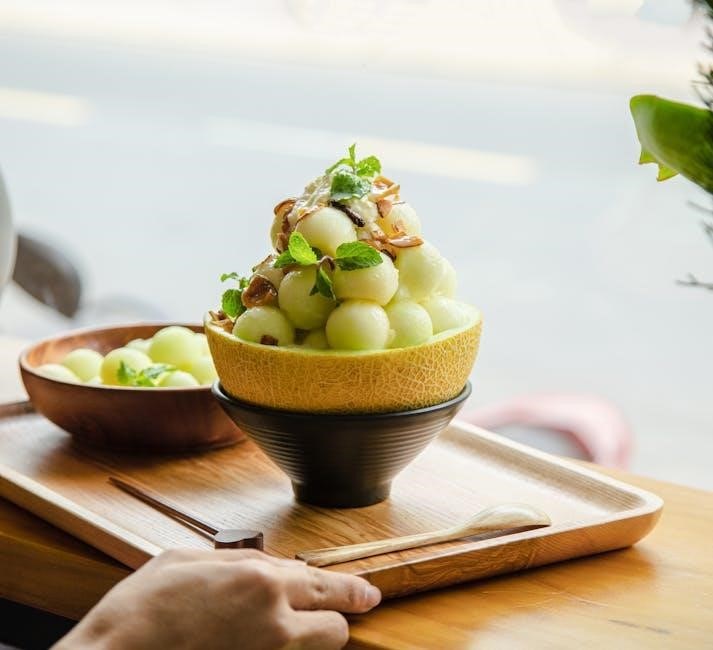
Elevate your fruit salads by incorporating beautifully balled fruit! The uniform shape adds a touch of elegance and makes each bite more enjoyable. Combine fresh melon balls – watermelon, cantaloupe, and honeydew – with balled stone fruits like peaches and nectarines for a delightful summer salad. A squeeze of citrus juice, such as orange or lime, prevents browning and enhances the flavors.
Consider adding other complementary ingredients like berries, grapes, or a sprinkle of chopped mint. For a creamy touch, fold in a dollop of yogurt or a light vinaigrette. Presenting the salad in a hollowed-out watermelon bowl, as seen in fruit carving tutorials, adds a stunning visual element and reinforces the freshness of the ingredients.
Fruit Bowls & Centerpieces: Artistic Arrangements
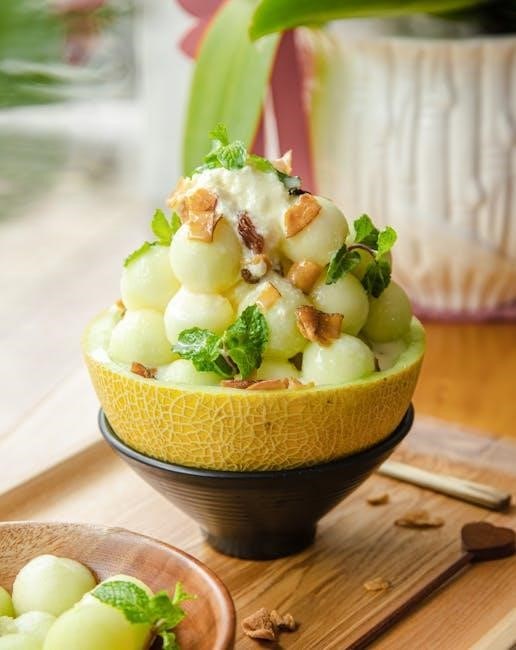
Transform fresh, balled fruit into stunning edible art! Create captivating fruit bowls and centerpieces by layering different colored fruit balls – think vibrant watermelon, sunny cantaloupe, and pale honeydew. Arrange them artfully, perhaps mimicking floral patterns or geometric designs. Consider using a hollowed-out watermelon as a base, showcasing your carving skills.
Incorporate other elements like fruit skewers or carved fruit flowers for added visual interest. Maintaining freshness is key; lightly mist the arrangement with citrus juice to prevent browning. These arrangements aren’t just beautiful; they’re a healthy and refreshing addition to any gathering, demonstrating creativity and attention to detail, inspired by food art DIY videos.
Garnishing Desserts with Fruit Balls
Elevate your desserts with the delicate touch of balled fruit! These miniature spheres add a burst of freshness, color, and texture to cakes, pastries, and ice cream. Imagine ruby-red watermelon balls atop a creamy cheesecake, or vibrant mango balls cascading down a chocolate mousse. The possibilities are endless!
Use a melon baller to create perfectly round portions, ensuring a refined presentation. A light citrus juice glaze keeps the fruit looking vibrant and prevents discoloration. Consider pairing fruit balls with mint sprigs or a dusting of powdered sugar for an extra touch of elegance. This simple technique transforms ordinary desserts into extraordinary culinary creations, inspired by artistic food arrangements.
Safety Precautions
Fruit carving requires sharp tools; prioritize safe knife handling and proper cleaning. Maintain tool sharpness and practice good hygiene to avoid spoilage.
Knife Handling: Safe Cutting Practices
Fruit carving often involves specialized knives, demanding strict safety adherence. Always use a sharp knife, as dull blades require more force, increasing slip risk. Maintain a firm grip on both the knife and the fruit, keeping fingers curled inward to protect them.
Cut away from your body, never towards yourself or others. Utilize a stable cutting surface to prevent movement during carving. When not in use, store knives securely in a block or sheath.
For intricate designs, consider using smaller, more controlled carving tools. Remember to slow down and focus, especially when working with delicate fruit. Prioritize safety to enjoy the art of fruit presentation without incident;
Tool Maintenance: Cleaning and Sharpening
Proper tool maintenance is crucial for safety and efficiency in fruit balling and carving. Immediately after each use, thoroughly wash all tools with warm, soapy water to remove fruit residue. Dry completely to prevent rust and bacterial growth. Avoid abrasive cleaners that can damage delicate blades.
Regularly sharpen your knives and melon ballers to maintain a clean cut and reduce the risk of accidents. A dull blade requires more pressure, increasing the chance of slipping. Consider professional sharpening services or learn basic sharpening techniques.
Store tools in a dry, safe place, ideally in a dedicated block or case. Inspect regularly for damage and replace worn or broken items promptly.
Avoiding Fruit Spoilage: Hygiene and Storage
Maintaining impeccable hygiene is paramount when preparing balled fruit. Always wash your hands thoroughly before handling fruit, and use clean cutting boards and tools to prevent contamination. Promptly remove any bruised or damaged pieces, as they spoil faster.
Proper storage significantly extends freshness. Store balled fruit in airtight containers in the refrigerator. A slightly acidic solution, like diluted lemon juice, can slow browning. Avoid overcrowding containers, allowing for air circulation.
Monitor stored fruit daily, discarding any showing signs of mold or spoilage. Remember, different fruits have varying shelf lives; consume more delicate varieties quickly.